How To Remove A Rusted Screw From A Shower Handle

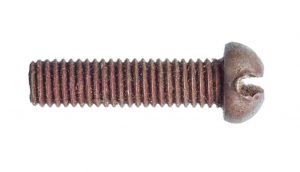
While removing a shower handle is usually a quick and easy task, a rusty screw can cause trouble and complicate things. Shower handles are usually held to the stem by a set screw. Use this quick guide to help you remove the rusty screw from the shower handle in your bathroom.
Locate The Screw
If you know the screw is rusty, then you should know where it is in the shower handle. In case you don’t know, it should be located near the base of the lever, sometimes behind it. Some manufacturers cover it with a decorative cover that you need to pop off.
Now that we’ve confirmed that we all know where the set screw is located, we can start removing it. Removing a rusty screw can be tricky because you don’t want to damage the rest of the faucet, or worse, damage the pipes hidden behind it.
Removing A Rusty Screw
There are several methods to try when trying to remove a rusty screw. Some of these methods can and will damage the fixture, so care must be taken and this must be kept in mind.

Before you get too impulsive in trying to remove the screws, make sure you turn off the water supply (if you are removing the faucet) and use a towel to cover the drain to prevent any parts from falling out.
It also doesn’t hurt to wear protective gear, such as safety glasses and a mask, when working with rusty materials to prevent you from breathing in rust particles as you work with the screws.
Method one.
If the screw head is not damaged or excessively corroded, you may be able to get it out without doing any in-depth methods that will consume your time. Using a vise or locking pliers, grip the screw head firmly and rotate it until the screw is loose.
However, for corroded screws or screws embedded in the handle, this method may not work for you, so move on to other methods.
Method 2: WD-40
Before trying any of the other methods below, try WD-40. in some cases, a few sprays of WD-40 on a rusted screw will help loosen things enough to get them out. Try this method before using any other method, as it will prevent you from wasting time.
All you need is WD-40 and a screwdriver or allen wrench, as most set screws are phillips head or allen screws. Simply apply lubricant to the screw and surrounding area and let it sit for a while.
After it has rested, try removing the screw with an appropriately sized screwdriver or allen wrench. You can also try using penetrating oil to remove the screw. If you choose to use penetrating oil, be sure to follow the manufacturer’s instructions for use. Penetrating oil may contaminate certain materials, so be careful where it drips.
Method 3: Hammer And Screwdriver
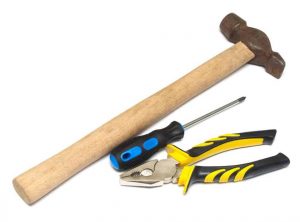
Rusty screws can be a challenge. You can try using a hammer, screwdriver and a few other tools to remove the offending screw. However, set screws with Philips screw heads tend to shrink under pressure and peel off fairly easily, especially when using a power drill.

Stripped screws are a whole different ballgame, but we’ll take a quick look at removal tips below.
For this method, you will need.
- A hammer
- Screwdriver or allen wrench
- Commercial rust inhibitor
- Grip paste (as needed)
Start by tapping the screw a few times with a hammer. This should help break the rust seal that is giving you problems. Next, spray the rust inhibitor on the screw. A product like Liquid Wrench, which is a formula for corrosion and rust, may work here.
Pay attention to the instructions on the rust inhibitor package; many products like this need to be applied in a well-ventilated area with specific instructions for use. This product will help loosen rust and act as a lubricant to help remove screws.
Make sure to give the product time to process if there is a wait time as indicated on the package. Next, use a hammer to tap the screw a few more times and tap around the screw a few times.
Use an appropriately sized screwdriver to remove the screw. If there is no give and the screw is still stuck, you can try using a clamping paste to help hold the screwdriver in place. If you decide to use clamping paste, follow the manufacturer’s instructions for use.
Method 4: Heat

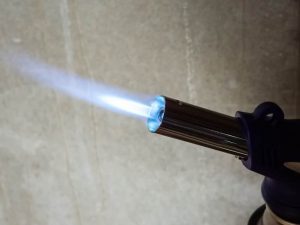
For rusty screws that continue to hold strong, you can try to remove the set screws by using heat. It is important to note that this method can cause a lot of damage to the fixture, so you should use it as a last resort.
When using this method, you will need
- Water-based degreaser
- Leather gloves
- Fire extinguisher (for safety)
- Flashlight
- Cold water
- Screwdriver
Before you start heating the screws with a torch, make sure you have removed any residual product that may be flammable with a water-based degreaser. If you try the above methods that require penetrating oil and rust inhibitor, make sure you remove all of the product.
Once you have thoroughly cleaned the area, use a torch to heat the screws. Make sure you have a fire extinguisher nearby and wear leather gloves. The heat from the torch may cause blistering of specific finishes and may damage any other parts that are susceptible to heat.
Immediately after the torch is finished, pour the screws in cold water. Repeat the heating and cooling process several times. The heat will cause the screw to expand and the cold will cause it to contract. When they are used together, it will help loosen the screw.
Let the screw sit until the area is cool to the touch, then remove it with a screwdriver.
How to remove stripped screws
When trying to remove a screw that refuses to budge, it is easy to strip it. If in any of these methods you manage to strip the screw, don’t worry. There are a few methods you can try.
First, try using a rubber band. Place the rubber band into the stripped screw and then place a screwdriver behind it. This should help occupy the space of the stripped screw and allow you to get enough traction to remove the screw.
If this doesn’t help, you will need a few tools, including.
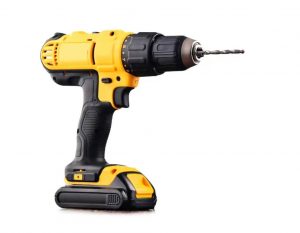
- Power drill
- A standard drill bit
- Screw extractor
- Adjustable wrench
First, fit the drill bit into the electric drill. The diameter of the drill bit should be large enough to fit the head of the screw. Make sure it is not too large or you will create a completely different problem to deal with.

Once the drill bit is in place, drill out the center of the head. The drill bit goes just down through the center of the screw head. Use the drill bit to push the extractor into the hole. Then, use an adjustable wrench to turn the screw extractor in a counterclockwise direction.
The screw should loosen and release, and then you are ready to proceed with the rest of the project.
 ARCORA FAUCETS