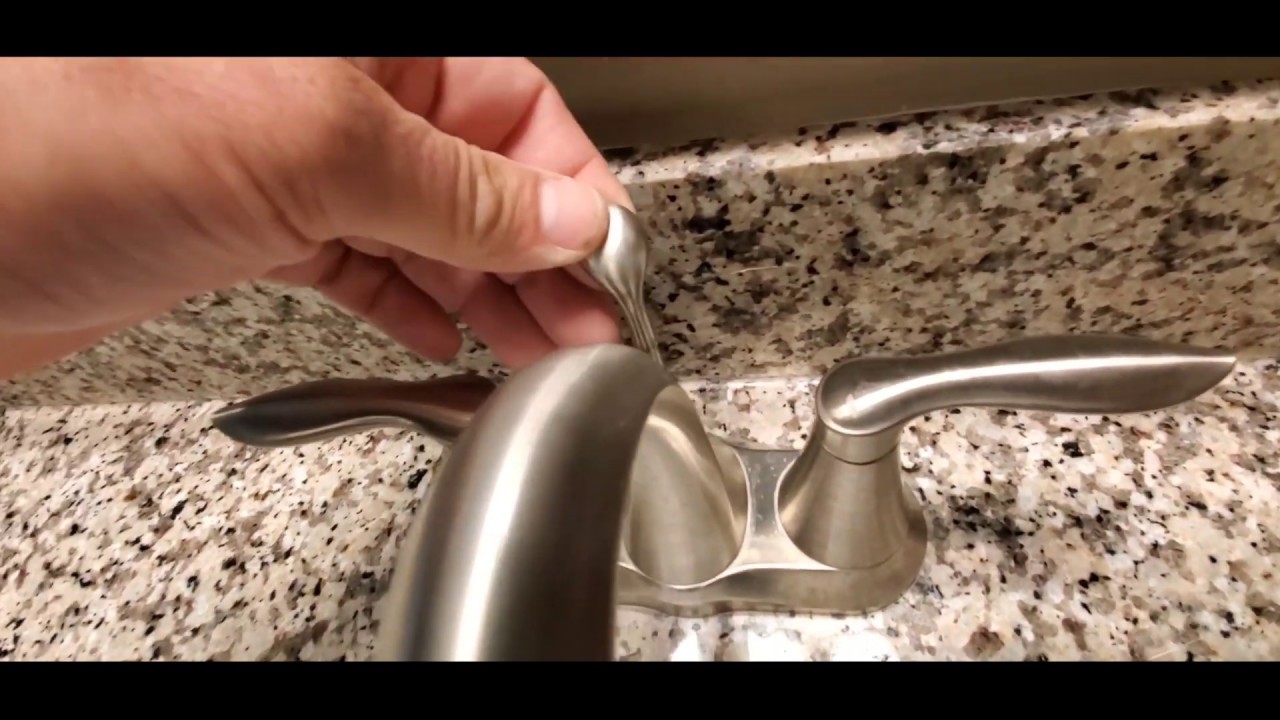
Introduction
A malfunctioning lift rod in your sink can be a frustrating issue, affecting the overall functionality of your bathroom or kitchen space. The lift rod is a crucial component that operates the sink stopper, allowing you to control the flow of water effortlessly. In this comprehensive guide, we will explore the various reasons why a lift rod might encounter problems, step-by-step instructions on how to fix lift rod on sink, and additional tips to ensure a smooth and long-lasting repair.
Understanding the Lift Rod and Its Functionality
A. What Is Lift Rod?
A lift rod on a sink is a fundamental component of the drainage system, playing a key role in controlling the operation of the sink stopper. Typically located beneath the sink, the lift rod is a slender, vertical rod that connects to a horizontal lever or pivot arm, which, in turn, is linked to the sink stopper.
The primary function of the lift rod is to enable users to manipulate the sink stopper, either raising it to allow water to drain or lowering it to stop the water flow. When you lift the rod, it engages the lever or pivot arm, causing the sink stopper to rise, permitting water to flow through the drain. Conversely, lowering the rod disengages the stopper, sealing the drain and preventing water from escaping.
This mechanism provides a simple and ergonomic means of controlling water flow in the sink. It is particularly useful for tasks such as filling the sink for washing dishes, allowing water to accumulate for various activities, or efficiently draining the sink after use.
The lift rod is often connected to the faucet with a linkage assembly, creating a synchronized movement between the faucet and the sink stopper. This linkage allows for a seamless and integrated operation, ensuring that the lift rod and stopper respond effectively to user input.
The design and functionality of the lift rod contribute to the overall convenience and user-friendliness of the sink. It provides a practical and accessible way to manage water flow, making it an essential component for both kitchen and bathroom sinks. Proper maintenance and occasional adjustments to the lift rod ensure its continued efficient operation, contributing to the smooth functioning of the sink’s drainage system.

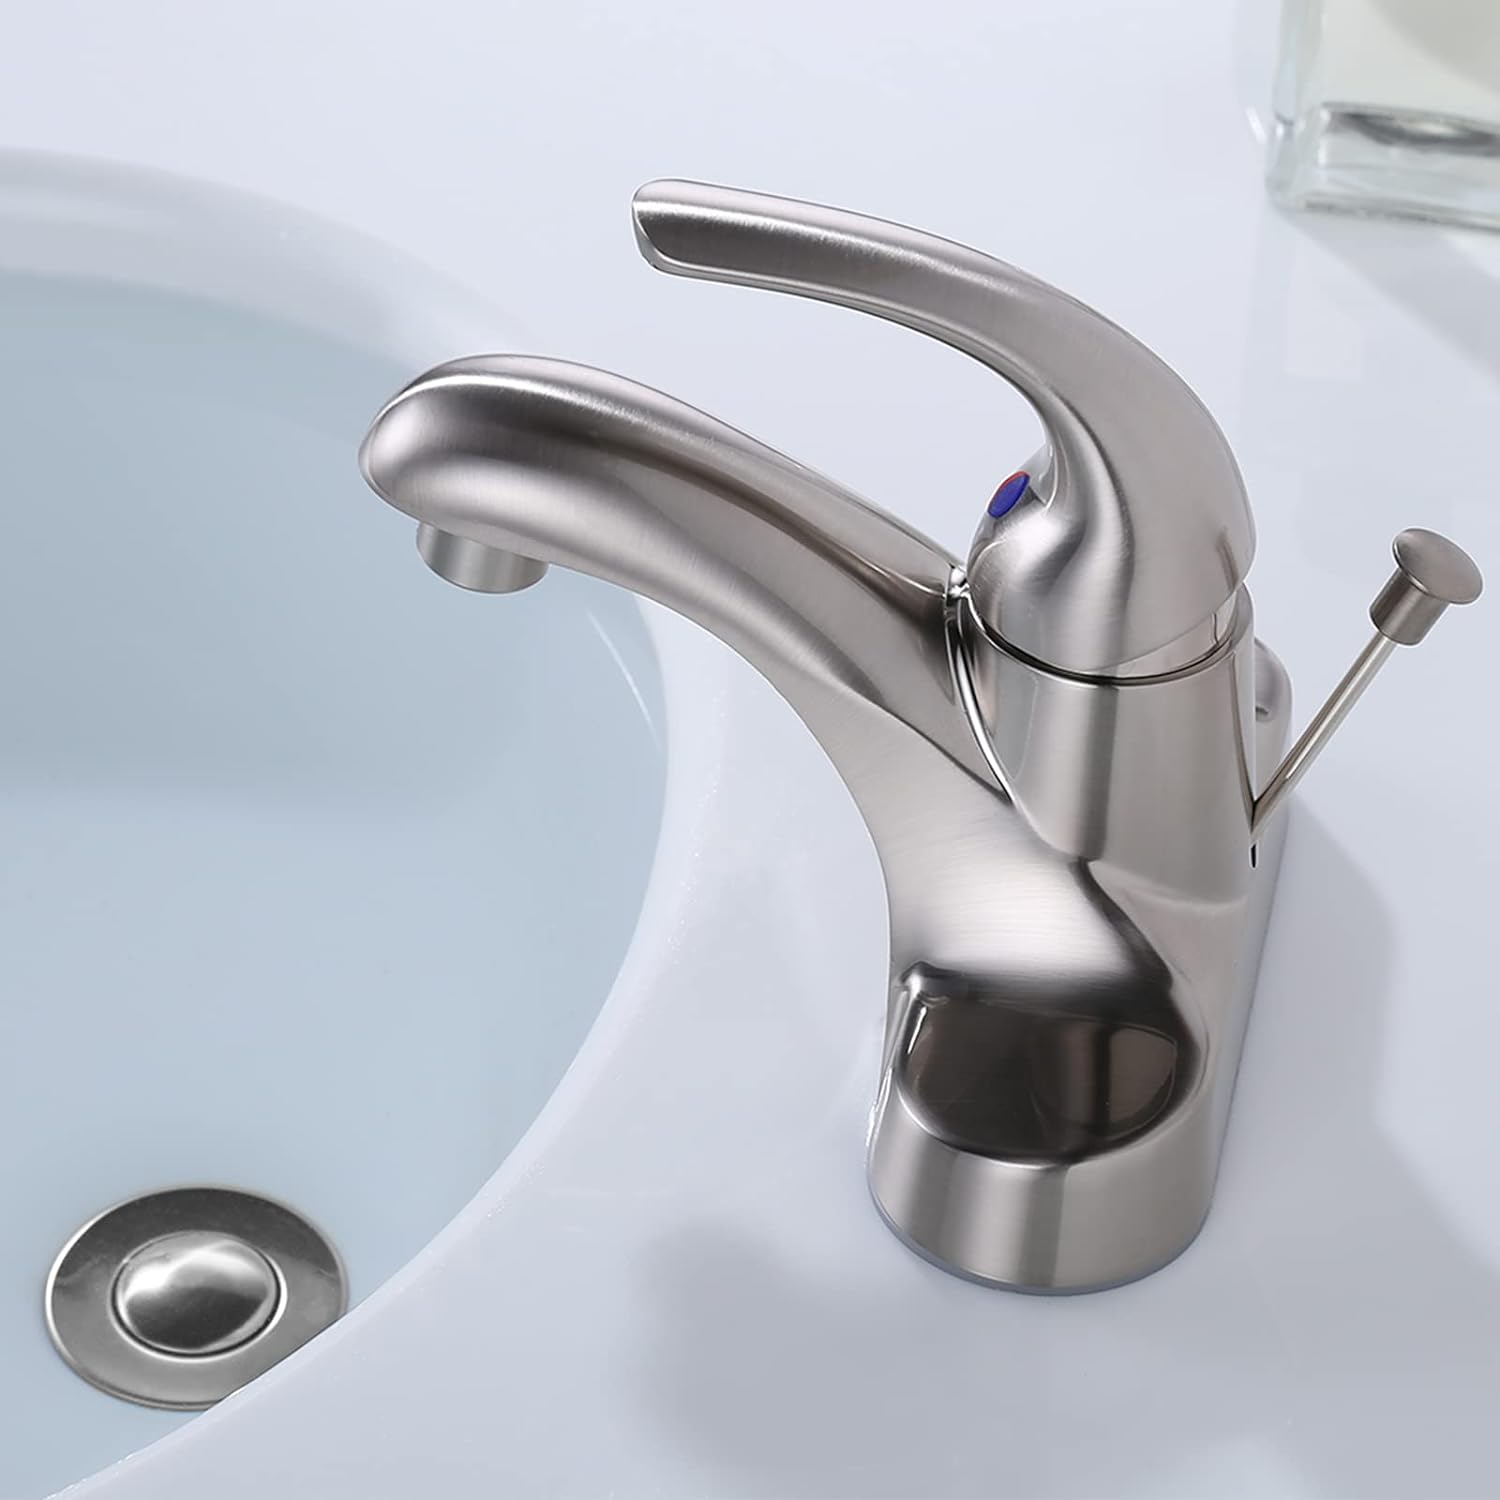
Arcora Bathroom Sink Drain With Overflow Lift Rod For Vessel Sink
B. The Anatomy of a Sink Lift Rod System
The lift rod is part of a mechanism that connects the sink stopper to the faucet. When you lift or lower the lift rod, it engages the stopper, controlling the water flow in the sink. This simple yet effective system is a fundamental component of most bathroom and kitchen sinks.
C. Common Issues with Lift Rods
Several issues may arise with a lift rod, affecting its smooth operation:
- Stiff Movement: The lift rod may become difficult to move up or down.
- Looseness: The lift rod may feel loose or detached from the sink stopper.
- Failure to Engage Stopper: The rod may fail to engage the sink stopper properly, leading to drainage issues.
Tools and Materials Needed for the Repair
Before embarking on the repair process, it’s essential to gather the necessary tools and materials. Having the right equipment ensures a more efficient and successful repair. Here’s a basic list to get you started:
A. Adjustable wrench
B. Screwdriver (flathead and Phillips)
C. Plunger
D. Bucket
E. Replacement lift rod (if necessary)
F. Plumber’s tape
G. Pipe joint compound
Step-by-Step Guide about How to Fix Lift Rod on Sink

A. Identify the Issue:
Begin by identifying the specific issue with the lift rod. Is it stuck, loose, or not engaging the stopper properly? Understanding the problem is crucial for an effective repair.
B. Clear the Sink:
Remove any items from the sink and clear the area beneath it. This ensures a clean and safe workspace for the repair.
C. Accessing the Lift Rod:
Locate the access point to the lift rod beneath the sink. This is usually found in the cabinet under the sink.
Use a flashlight to get a clear view of the lift rod and its connection points.
D. Check for Obstructions:
Examine the lift rod for any obstructions or debris that might be hindering its movement.
Use a plunger to clear any clogs in the sink drain. Sometimes, a clog can impact the performance of the lift rod.
E. Tightening Connections:
Check the connection points of the lift rod. If it feels loose, use an adjustable wrench to tighten the nuts and secure the rod in place.
F. Lubricate Moving Parts:
Apply a silicone-based lubricant to the moving parts of the lift rod. This helps reduce friction and ensures smoother operation.
G. Inspect the Stopper:
Examine the sink stopper to ensure it is not damaged or obstructed. If necessary, clean the stopper and remove any debris.
H. Adjusting the Lift Rod Height:
If the lift rod is not engaging the stopper correctly, adjust its height. Loosen the nut securing the rod and move it up or down to the desired position.
I. Replacing the Lift Rod:
If the lift rod is damaged beyond repair, consider replacing it. Remove the old rod and install a new one according to the manufacturer’s instructions.
J. Testing the Repair:
Once the repair is complete, run water in the sink and test the lift rod’s functionality. Ensure that it engages and disengages the stopper smoothly.
Additional Tips for a Successful Repair
A. Use Plumber’s Tape:
When reconnecting pipes or fittings, apply plumber’s tape to the threads. This helps create a watertight seal and prevents leaks.
B. Inspect for Leaks:
After completing the repair, inspect the area beneath the sink for any signs of leaks. Address any leaks promptly to prevent water damage.
C. Regular Maintenance:
Incorporate regular maintenance into your routine to prevent future issues with the lift rod. Periodically clean the stopper and lubricate the moving parts.
D. Consult Manufacturer Guidelines:
Refer to the manufacturer’s guidelines and instructions for your specific sink and lift rod system. Following these guidelines ensures that you are performing the repair correctly.
E. Seek Professional Help:
If you encounter challenges during the repair process or if the issue persists, don’t hesitate to seek professional plumbing assistance. A licensed plumber can diagnose and fix complex problems.
Conclusion
Fixing a lift rod on a sink is a manageable task with the right tools, materials, and knowledge. By identifying the issue, following a step-by-step repair guide, and implementing additional tips for success, you can restore the functionality of your sink and prevent further complications. Regular maintenance and a proactive approach to repairs contribute to the longevity of your sink’s components, ensuring a smooth and efficient experience in your bathroom or kitchen.
 ARCORA FAUCETS
