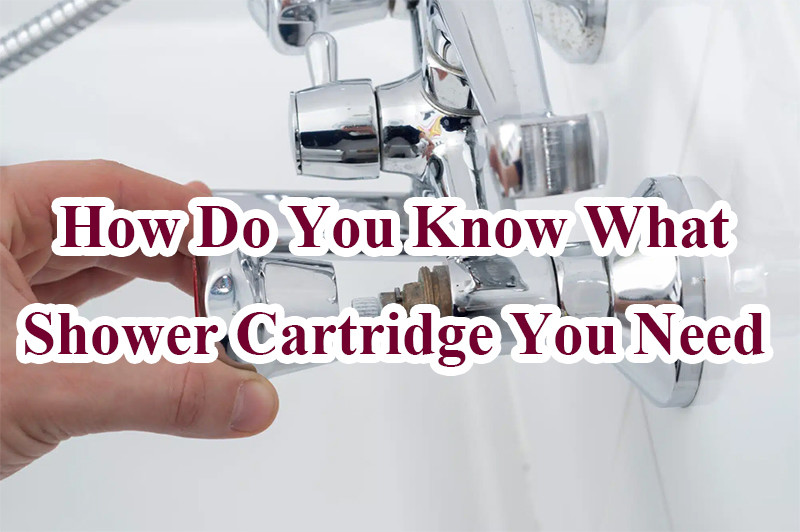
When it comes to maintaining your shower’s functionality and efficiency, the shower cartridge plays a crucial role. This small yet essential component regulates water flow and temperature, ensuring a comfortable and consistent shower experience. However, selecting the right shower cartridge can be daunting, especially with the variety of options available on the market today. How do you know what shower cartridge you need? Here’s a comprehensive guide to help you navigate through the process and find the perfect shower cartridge for your needs.
What is a Shower Cartridge?
A shower cartridge is a part of the shower valve that controls the flow and temperature of the water. It acts as a valve within the valve, managing the mix of hot and cold water to maintain a steady temperature and flow rate. Over time, cartridges can wear out due to mineral buildup, corrosion, or general wear and tear, leading to leaks, inconsistent water temperature, or reduced water pressure.
Identifying Your Shower Valve Type
Before you can determine which shower cartridge you need, it’s crucial to identify your shower valve type. There are several common types of shower valves, each requiring a specific cartridge:
- Single-Handle Cartridges: These are found in showers with a single lever that controls both water flow and temperature. Single-handle cartridges are often easier to replace since they involve fewer parts.
- Two-Handle Cartridges: Common in older shower setups, these valves have separate knobs or levers for hot and cold water. Each handle typically has its own cartridge.
- Thermostatic Cartridges: These cartridges are more advanced and allow precise control over water temperature. They are commonly found in showers with thermostatic mixing valves, ensuring consistent water temperature even if there are fluctuations in hot or cold water supply.
Checking Compatibility
Once you’ve identified your shower valve type, the next step is to ensure compatibility with the new cartridge. Manufacturers often produce cartridges that are specific to their shower valve models. Here are the key factors to consider:
- Brand and Model: Look for the manufacturer’s name and model number on your existing cartridge or shower valve. This information is crucial for finding the exact replacement.
- Size and Shape: Cartridges come in various sizes and shapes, even within the same brand. Measure the length and diameter of your existing cartridge to ensure the new one fits snugly into the valve.
- Hot vs. Cold: Some shower valves have cartridges that are specific to either the hot or cold water side. Make sure you’re replacing the correct cartridge to avoid issues with temperature control.
Choosing the Right Features
Beyond basic compatibility, shower cartridges can vary in features that affect performance and convenience:
- Pressure Balancing: Cartridges with pressure-balancing features maintain consistent water pressure, preventing sudden changes when someone else in the house uses water.
- Anti-Scald Protection: This feature is crucial for households with children or elderly individuals, as it prevents water from reaching dangerously high temperatures.
- Durability: Look for cartridges made from durable materials like ceramic, which are less prone to wear and corrosion compared to rubber or plastic components.
Steps to Replace a Shower Cartridge
If you’re comfortable with DIY projects, replacing a shower cartridge can often be done without professional help. Here’s a general guide:
- Turn off Water Supply: Shut off the water supply to the shower before beginning any work.
- Remove Handle and Trim: Depending on your shower valve type, you may need to remove the handle, trim, and any cover plates to access the cartridge.
- Remove Old Cartridge: Use a cartridge puller tool or a pair of pliers to carefully extract the old cartridge from the valve body.
- Install New Cartridge: Insert the new cartridge into the valve body, ensuring it aligns properly with any pins or guides inside.
- Reassemble and Test: Reattach the handle, trim, and cover plates. Turn on the water supply and test the shower for leaks and proper functionality.
Conclusion
Selecting the right shower cartridge involves understanding your shower valve type, checking compatibility, and choosing features that suit your needs. Whether you’re replacing a worn-out cartridge or upgrading to a more advanced model, taking the time to research and select the correct cartridge will ensure your shower continues to provide a reliable and enjoyable bathing experience for years to come.
By following these guidelines, you can confidently navigate the process of selecting and installing a shower cartridge that meets your specific requirements. Remember, if you’re unsure about any steps or compatibility issues, consulting a professional plumber can provide peace of mind and ensure a successful installation.
 ARCORA FAUCETS